How to Collect a Water Sample Without Ruining the Results
A lab can only measure what actually arrives in the
Free Shipping on Orders of $100 or More
A lab can only measure what actually arrives in the bottle. Collect the sample poorly, and you still get a report full of confident numbers, just numbers that describe something other than your water. The most common mistake is also the simplest one. People rinse the bottle first, which washes out the preservative the lab put there.
Good water sample collection takes about ten minutes and a little reading. This guide walks through the whole process, tap by tap and bottle by bottle. Do it properly, and the result you pay for becomes a result you can actually act on.
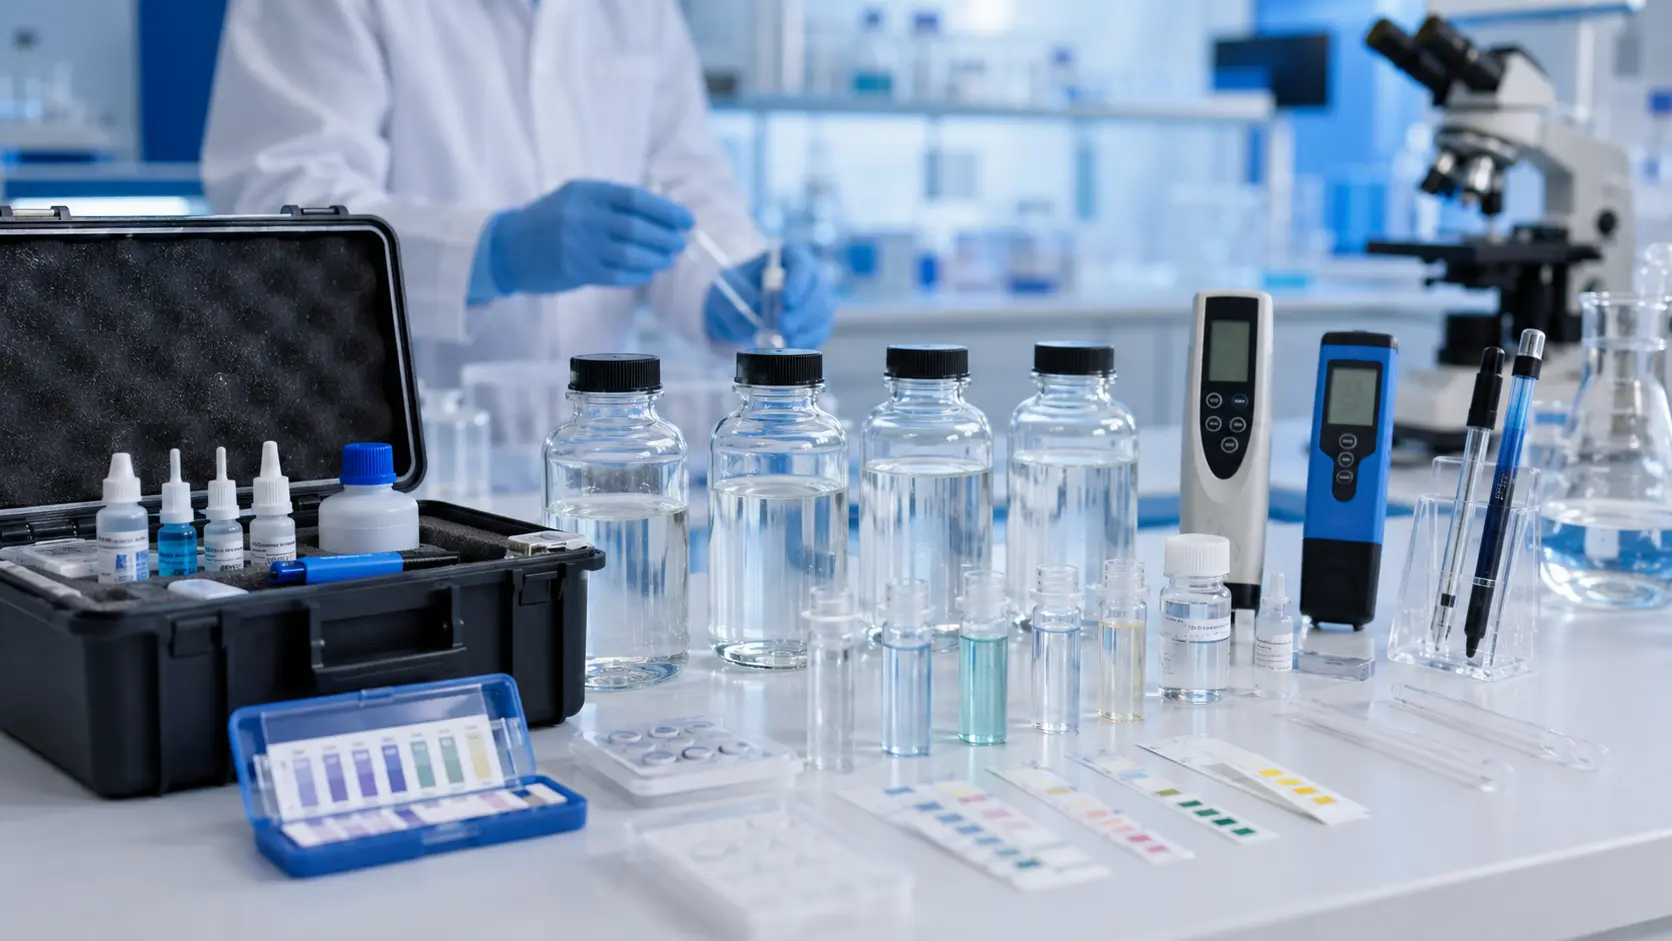
Lay the kit out on a clean counter and identify every item before you turn on a tap. A kit usually arrives with several bottles, each matched to a group of tests, plus the paperwork and the cold chain materials.
Here’s why rinsing ruins a test. That white powder in the bottom isn’t dirt. It’s preservative, measured for the exact volume you’re about to add. A quick rinse at the tap sends it straight down the drain.
Decide what the result should represent before you pick up a bottle. There are three common goals. Checking the source, meaning the raw well or main water. Checking what the household actually drinks. Or judging how a treatment system is performing.
A fourth goal changes things again. Chasing an intermittent smell, a stain, or a taste that comes and goes needs a sampling plan built around when the problem shows up. If you’re unsure which case fits you, call the laboratory and describe the situation before collecting. That call is free, and it saves you a resample.
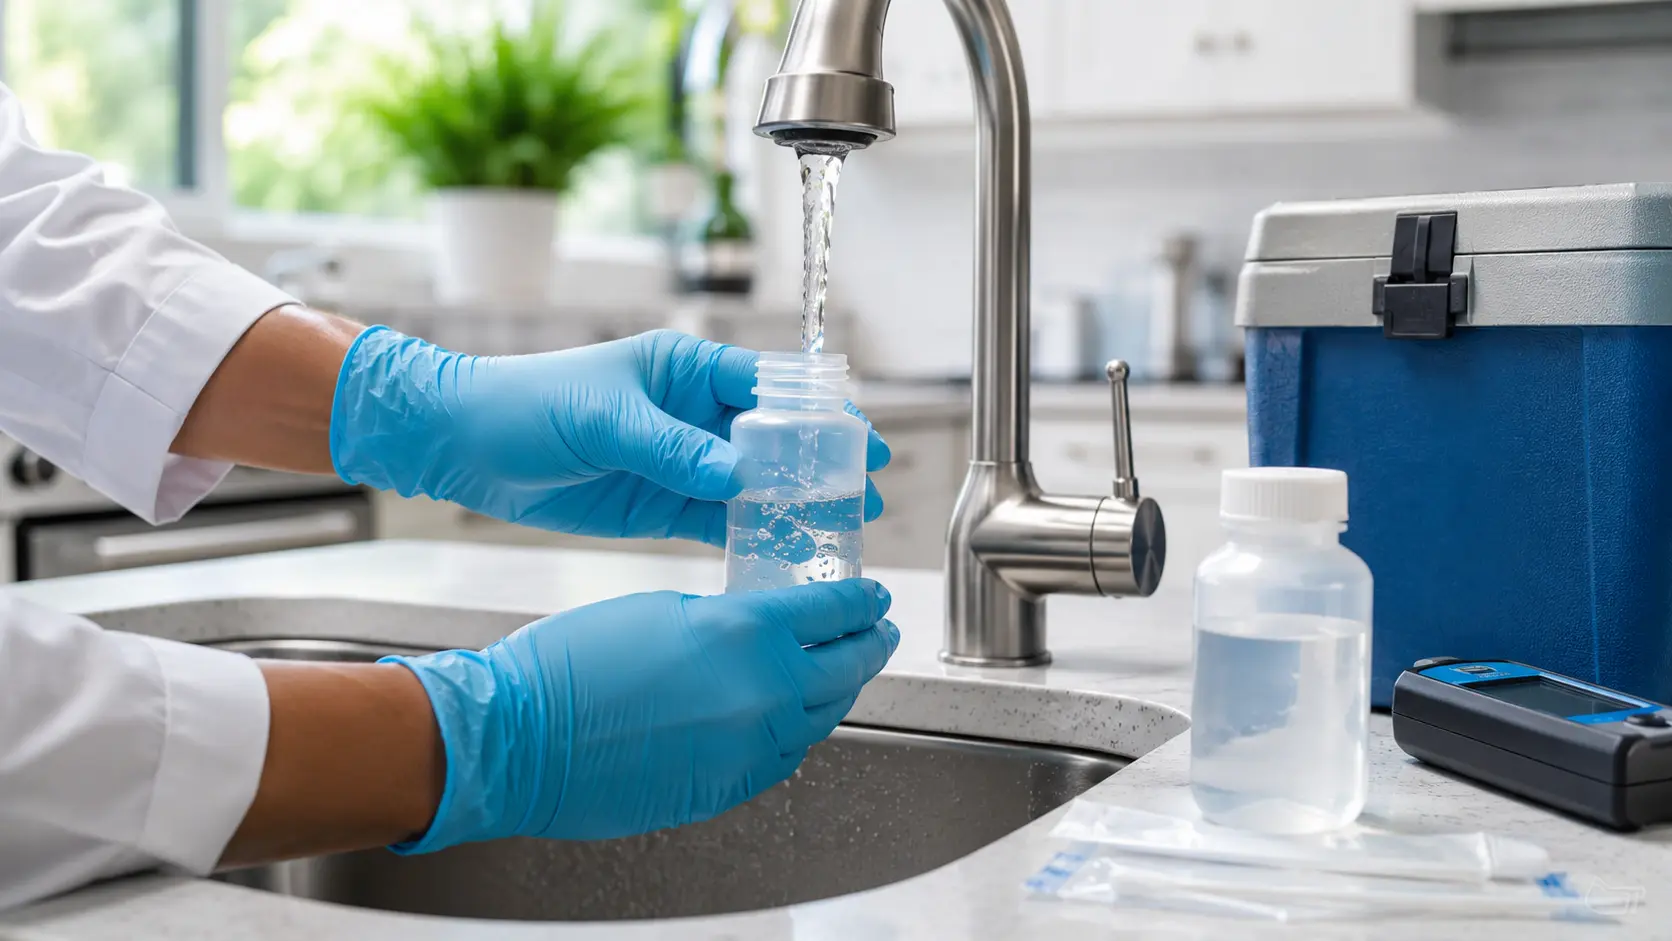
The default is the kitchen cold tap, since that’s where drinking water is drawn. Use it for routine drinking water panels, and take the sample from the cold side only, since hot water carries metals from the heater.
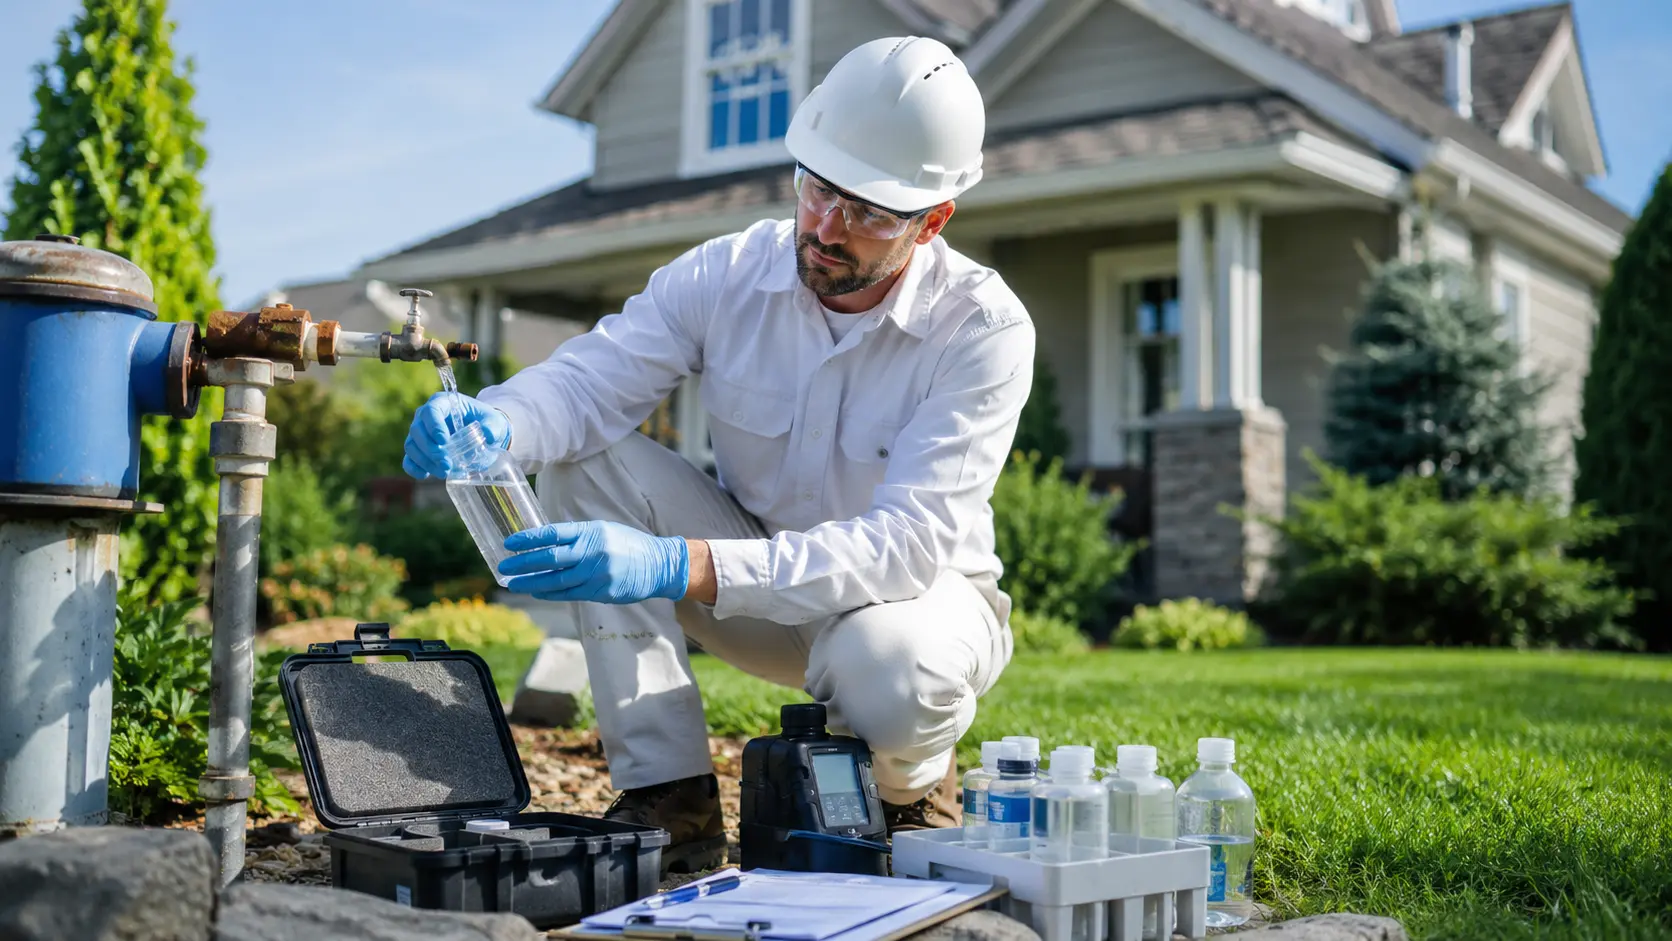
The exceptions matter. To check the source, sample from a tap ahead of any treatment, such as a wellhead port or a basement spigot before the softener. To judge treatment, sample after the unit. Outside spigots and hoses add their own metals and biofilm. Bathroom taps often sit on a dead leg, so they answer a different question than the one you asked.
This is the decision people get wrong most often. An unfiltered sample tells you what’s in the water arriving at your home. A filtered sample tells you what your treatment is letting through. Those are two separate facts, and one sample only gives you one of them.
Answering both takes two samples collected the same day, one before treatment and one after. That pair shows exactly which contaminants dropped and by how much. Got a filter on the kitchen tap and only one sample ordered? Bypass the filter for source testing, and note that on the form.
Read all eight steps before you start. Kit instructions override anything here, since methods differ between labs.
For bacteria, take the aerator off. Screens trap sediment and grow biofilm, and that biofilm can cause a false positive for coliform. Some labs also ask you to sanitize the tap outlet with a flame or a diluted bleach wipe.
For lead, leave the aerator in place and don’t clean it. A first draw sample is meant to capture what a household actually pours, aerator debris included. Removing it strips out particulate lead and pulls the result artificially low. Check your kit for the rule that applies to your parameter.
For bacteria and general chemistry, run the cold tap for two to three minutes first. That clears the standing water sitting in the fixture, so the sample represents your supply rather than your faucet.
For lead, do the opposite. The water needs to sit still in the pipes for at least six hours. That usually means collecting first thing in the morning, before anyone showers or flushes. The two rules work against each other, so read the kit before you touch the handle.
This is the single most important line on the page. Don’t rinse the bottle, ever, for any parameter. The preservative inside was measured for the exact volume you’re collecting, and rinsing it away means the lab can’t report a valid number.
A rinsed bottle almost always ends in a resample, which costs another kit, another trip to the tap, and another week. If you rinse one by accident, say so when you call rather than shipping it and hoping for the best.
Bacteria bottles are sterile until the moment you open them. Set the cap down face up, or better yet hold it, and keep your fingers away from the threads and the inner surface. Skin carries coliform bacteria.
A single fingertip on the rim can produce a positive result on water that’s perfectly clean. That costs you a resample and a week of worry. Gloves help, but careful handling matters even more.
Preserved bottles have a fill line, and it’s there for a reason. The preservative dose is calculated for that volume, so overfilling waters it down and underfilling leaves too little sample for the method.
VOC vials break that rule. Fill each vial until the water domes above the rim, then cap it through the meniscus so no air gets trapped. Volatile compounds escape into any air space, and a bubble the size of a pea can pull your result down.
Tighten each cap firmly and check the seal. For VOC vials, turn the vial upside down and tap it against your palm. Watch the top for a bubble rising through the water.
If a bubble shows up, don’t open the vial and top it off. Opening it has already let the volatiles escape. Grab a fresh vial and collect again from the same tap, then note the extra vial on your form.
Label each bottle the moment you cap it. Two identical bottles on a counter become impossible to tell apart within minutes, and a lab can’t guess which one held the first draw.
Write the date and the exact time of collection on the label and on the form. That time starts the hold clock for every test in the box, and the lab uses it to judge the sample when it arrives.
Put the bottles in the insulated liner with the ice pack and close the box right away. Many methods need the sample to arrive cold, and the lab records the temperature at receipt before anything else happens.
Ship the same day you collect. Collect on a Monday or Tuesday morning where you can. A Friday afternoon collection usually sits in a depot over the weekend, and the bacteria hold time runs out before the box ever gets unpacked.
Odor complaints need their own approach. The compounds behind a rotten egg, fuel, chemical, or musty smell are often volatile, so they leave the water quickly. A jar carried in from the kitchen can arrive at the lab smelling like nothing while the tap still smells at home.
Call the laboratory before collecting. Describe the smell, when it shows up, and how long it lasts, then use the container and method they specify. Volatile work usually means glass vials with no headspace rather than an open bottle.
Note a few things beforehand too. Does the smell show up in hot water, cold water, or both? Does it appear at every tap or just one? Is it there before treatment, after it, or only after the water has sat overnight? Those answers often help locate the problem before the report even arrives.
This is the reference worth keeping. The values below are typical for drinking water work, and your kit instructions take priority over anything here.
Every sample hold time is counted from collection, not from the moment the box gets opened at the lab. That’s why the time on your label matters as much as the water in the bottle.
Many of them do need temperature control after collection, and the ice pack in your kit is there for that. Cooling slows biological activity and chemical change, which keeps the sample close to what came out of the tap.
Requirements aren’t identical across methods, though. Some tests depend on chemical preservation instead, some need both, and a few carry no temperature requirement at all. Use the ice pack and follow your kit instructions rather than assuming a night in the fridge covers everything.
Refrigeration is just one part of preservation. Preservative chemistry, temperature, and hold time all work together, and skipping any one of the three can invalidate the analysis.
Treatment equipment changes the water, which is the whole point of it. So the sample point decides what your report actually describes. A tap after a softener describes the softener. A wellhead port describes the well. The kitchen tap after a carbon block describes what your family drinks.
For system checks, collect before and after on the same day. A softener should show hardness dropping and sodium rising. Reverse osmosis should show dissolved solids, nitrate, and arsenic falling. A UV lamp should show no coliform after it, though UV changes nothing about metals. Ask for the diagram if you’re unsure where the sample ports sit, and check out our well maintenance and care guide for more on keeping a treatment system running the way it should.
Real estate closings, lender conditions, permits, septic approvals, and disputes often call for a trained collector. They also need a signed chain of custody form tracking the sample from tap to bench.
The analysis itself stays the same. What changes is the documentation proving where the water came from and who handled it. Our real estate transaction testing page covers when a trained collector is required and what the paperwork looks like.
Don’t throw out a surprising result. Real contamination often looks surprising, and dismissing a positive result simply for seeming unlikely is how problems get missed. At the same time, collection errors can contaminate a sample or make it unrepresentative.
Call the lab and walk through what you did. Which tap, how long you flushed, when you collected, how the bottles traveled. They can tell you if anything in that story explains the number.
Then ask about a confirmation sample. A second, carefully collected sample settles the question, and many labs price a confirmation lower than the original panel.
Take this list to the tap. It covers water sample collection in ten lines, and it works with any kit.
Download the printable one-page version, stick it on the cupboard door, and check it off as you go. It’s quicker than reading a booklet with wet hands.
No, not for anything you plan to act on. A lab water sample bottle is sterile or pre-dosed with preservative, and its volume is matched to the method. A household jar adds residue, soap, and its own leachable metals, which show up as contamination. The one exception is a screening kit whose own instructions tell you to use a clean glass.
It depends on the parameter. For bacteria and general chemistry, flush the cold tap for two to three minutes so you sample the supply rather than the fixture. For lead, don’t flush at all, since the water needs six hours of standing time. Steps one and two above cover the full rule.
Bacteria set the tightest limit at roughly 30 hours from collection for drinking water. Unpreserved nitrate runs about 48 hours, volatile organics around 14 days, and acid-preserved metals up to six months. The clock starts when you cap the bottle, not when the courier picks it up, so ship the same day.
Yes, for lead and for any first draw test. Those results should show what comes out after water has sat in your pipes overnight. An early morning sample, taken before anyone runs a tap, is the representative one. For other parameters, timing mainly affects shipping.
No, since preservation chemistry differs by parameter. Bacteria need a sterile bottle with a dechlorinator, metals need acid, and volatile organics need a sealed vial with no air. Those conditions work against each other. That’s why a full panel arrives as several bottles instead of one large container.
The lab either flags the result with a qualifier or rejects the sample, and you pay for a resample. Rejections usually come from an expired hold time, a warm shipment, the wrong container, or a broken seal. If you’re unsure about something you did, call before shipping. That call costs nothing.
From the point that matches what you want the result to represent. For general drinking water testing, that’s usually a cold tap the household drinks from. For source testing, sample ahead of any treatment. For troubleshooting a system, collect before and after it. Decide the purpose first, then pick the tap.
You can screen at home, which is a different thing from testing. Strips and meters give a quick read on hardness, chlorine, pH, and similar properties, which suits routine monitoring. Dependable contaminant numbers, a property transaction, a permit, or any result you plan to act on need laboratory analysis.
Ten careful minutes at the tap decide the value of everything that follows. Knowing how to take a water sample for testing turns a lab report into a document you can actually act on. Get it wrong, and you’re left with a number to repeat next month. Read the kit, respect the fill rules, label the bottles, and ship the same day.
ETR Laboratories has been analyzing drinking water since 1995, and every kit ships with the bottles, preservatives, and instructions your panel needs. Order the panel that fits your situation, then collect your sample early next week.
A lab can only measure what actually arrives in the
People who search for well water testing nearby usually want
Search for a way to check your water, and four
Related Post.
How to Collect a Water Sample Without Ruining the Results
A lab can only measure what actually arrives in the bottle. Collect the sample poorly,
Well Water Testing Near Me: How to Find a Certified Lab
People who search for well water testing nearby usually want a sample moving right away.
Water Test Kits Compared: Which One Do You Actually Need?
Search for a way to check your water, and four different products show up. A
What Makes a Water Testing Lab Certified? A Full Guide
Certification means a state or accrediting body has checked that a lab can run named
How to Read Your Water Test Report
It’s normal to get a report that has 40 rows of information on the report.
Can You Trust Your Water Test Results? 13 Red Flags
A water test is only as good as the lab behind it. The number on
Algal Blooms and Cyanotoxins in Water Supplies
Every summer, as lakes and ponds warm up, you’ll start seeing the headlines: a beach
The 2026 Cyclospora Outbreak: What It Actually Means for Your Water
If you’ve seen headlines this summer about a fast-growing outbreak of diarrheal illness sweeping across
White Residue on Fixtures and Dishes: What It Means
Run a glass through the dishwasher and pull it out cloudy. Wipe down the shower
Water Testing Labs Near Me: How to Choose the Right Lab
A search for water testing near you usually turns up dozens of companies claiming to
Whole-House Reverse Osmosis System vs. Under-Sink RO
From the Lab by ETR Laboratories Reverse osmosis has been a common option for treating
Tannins in Well Water: Causes, Signs, and Treatment
Most people would blame the presence of iron when they see their water take on a yellow or tea-colored tint. Maybe your white laundry is slowly turning beige, or you have noticed an earthy smell coming from the tap.
Related Post.
People who search for well water testing nearby usually want a sample moving right away. Two routes get you there....
Search for a way to check your water, and four different products show up. A paper strip that changes color...

Certification means a state or accrediting body has checked that a lab can run named tests correctly, and keeps checking....